Types of Asphalt Roofing Shingles for Your Home
Knowing the differences between all the kinds of asphalt shingle types is certainly not possible for someone who doesn’t have a background in the roofing industry. But at the same time, one cannot buy the best shingles for their roof unless they know about the key features of all the available options. This is why our asphalt roofing experts at Aztec Construction have created an expert guide on the different types of asphalt shingles so that you can make the right choice.
Asphalt Shingle Types You Should Know Before Your Next Roofing Project:
While asphalt shingles are a popular roofing option across the US, many homeowners find themselves pondering the different names and types of asphalt roofing shingles available in the market. But by the time you have read our detailed guide, you’ll be ready to invest in the best asphalt roofing shingle choice for your property without batting an eyelid.
The different categories of asphalt roofing shingles that you should know about are:
a. A touch of tradition with 3-tab shingles:
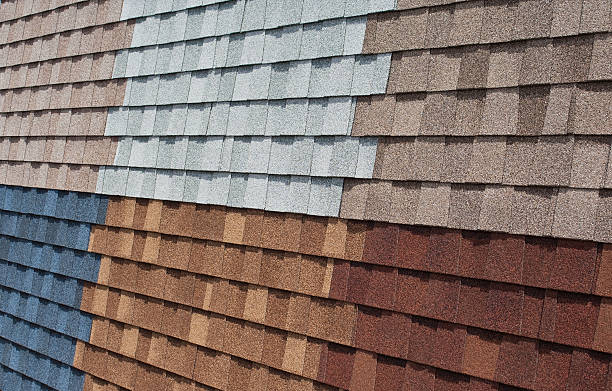
The first type of asphalt roofing shingles is traditional shingles. They are also known as strip or 3-tab shingles and have evolved in shape, size, and quality over the years. These are much larger and require less installation time than the old 1-tab shingles, making them a more cost-effective option. They give off a consistent appearance with perfectly rectangular roofing shingles and come in various color choices that can boost your curb appeal.
b. Laminate your roof with dimensional shingles:
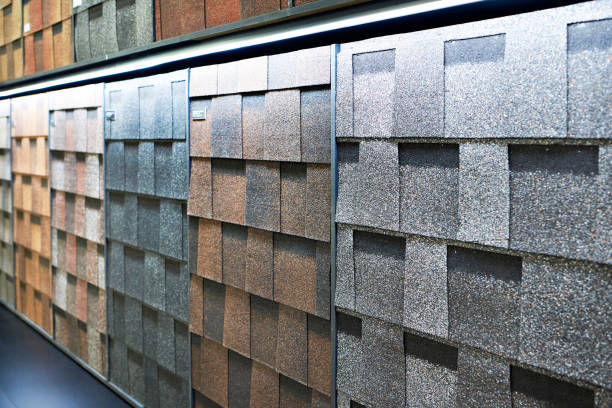
Dimensional shingles, also known as laminate or architectural shingles, are made up of 2 layers. Each layer includes fiberglass and asphalt. This thick 2-layer structure helps dimensional shingles in weather resistance. Their simpler installation procedure, as well as aesthetic effect, makes them a popular choice.
- Dimensional vs 3-tab shingles:
Dimensional shingles tend to differ from 3-tab asphalt roofing shingles because they are not cut into similar shapes. Each dimensional shingle is created with alternating tabs of single or double layers, creating a unique pattern called dragon’s teeth. Further, a band of darker granules is also added as a shadow line, giving a more multi-dimensional look.
c. Who needs a designer when you have premium shingles?
Designer shingles give off a premium look as they can easily mimic the appearance of other roofing materials like slate tiles or cedar shakes while also incorporating the added feature of a two-layer composition. Homeowners can get this unique look without the drawbacks of traditional asphalt shingle roofing and at a lower cost.
| Did you know?Professional roofers use starter shingles to help secure the roof substrate where there are cutouts, joints, or gaps in the first course of asphalt roofing shingles. |
d. The multi-talented kind for high performance:
Many asphalt roofing shingles are commonly known as performance shingles because they have been manufactured to offer certain benefits, like fire or wind resistance.
Here are the top 4 types of asphalt roofing performance shingles that you can get for your home:
- Say goodbye to hail impacts:
Some homeowners who live in regions more susceptible to the hard and damaging impacts of hail can opt for impact-rated asphalt roofing shingles, which guarantee a certain level of reduction in the impact of hail.
- No more wind damage:
Another interesting option is wind-resistant asphalt roofing shingles, which are a type of performance shingles that can withstand the effects of high winds by either blowing them off or reducing wind uplift.
- Algae growth is no longer a problem:
If you’re looking for a roof that promotes algae resistance, you’re not crazy because algae-resistant asphalt roofing shingles also exist. Many homeowners opt for this category of performance shingles to avoid black stains caused by algae.
- Your roof’s buddy against fire:
Different manufacturers offer different classes of fire-resistant options that you can choose to safeguard your roof against the damage of fire. However, a high fire rating can only be achieved through a complete new roof installation. Class A fire-resistant shingles are a good example.
e. Some other shingles to make your roof chic:
Now that you know about the top categories of asphalt roofing shingles, let’s discuss two other, less popularly known options for asphalt roofing.
- Hip and ridge shingles in matching colors are a good idea when you’re looking to complement your overall roof style.
- Starter strips are a kind of shingles first applied on the roof as a solid sealant strip to bond the main shingles to the actual roof.
Asphalt Roofing Shingles: Comparing The Top 3:
Now that you have learned about all the different types of asphalt shingle roofs, we have created a table with a comparative analysis of 3-tab, architectural, and designer roofing shingles to help you make the best decision.
Let’s take a look:
| Feature | 3-Tab Shingles | Architectural Shingles | Designer Shingles |
| Curb appeal | Low | Decent | High |
| Lifespan | 15-20 years | 22-25 years | 30 years |
| Cost | Low | Medium | High |
Conclusion:
With so many asphalt roofing shingle options available in the market, picking the right roofing material for your home can be frustrating. But through an expert guide with all the different types of asphalt roofing shingles, which have the details on characteristics of each category, you can make an informed choice the next time you’re in the market for a roofing project.
FAQs
1. What is the difference between 3-tab, architectural, and designer shingles?
3-tab shingles are flat and basic, architectural are layered and durable, while designer shingles offer a high-end look.
2. Which type of asphalt roofing shingle lasts the longest?
Designer shingles last the longest—up to 30 years—offering both durability and style.
3. Are performance shingles really worth the extra cost?
Yes, they provide added protection against hail, wind, algae, and fire, especially in harsh climates.
4. Can asphalt shingles mimic the look of slate or wood?
Designer shingles can replicate premium materials like slate or cedar at a lower cost.
5. How do I choose the best asphalt shingle for my home?
Base your choice on budget, local weather, and the look you want for your home.
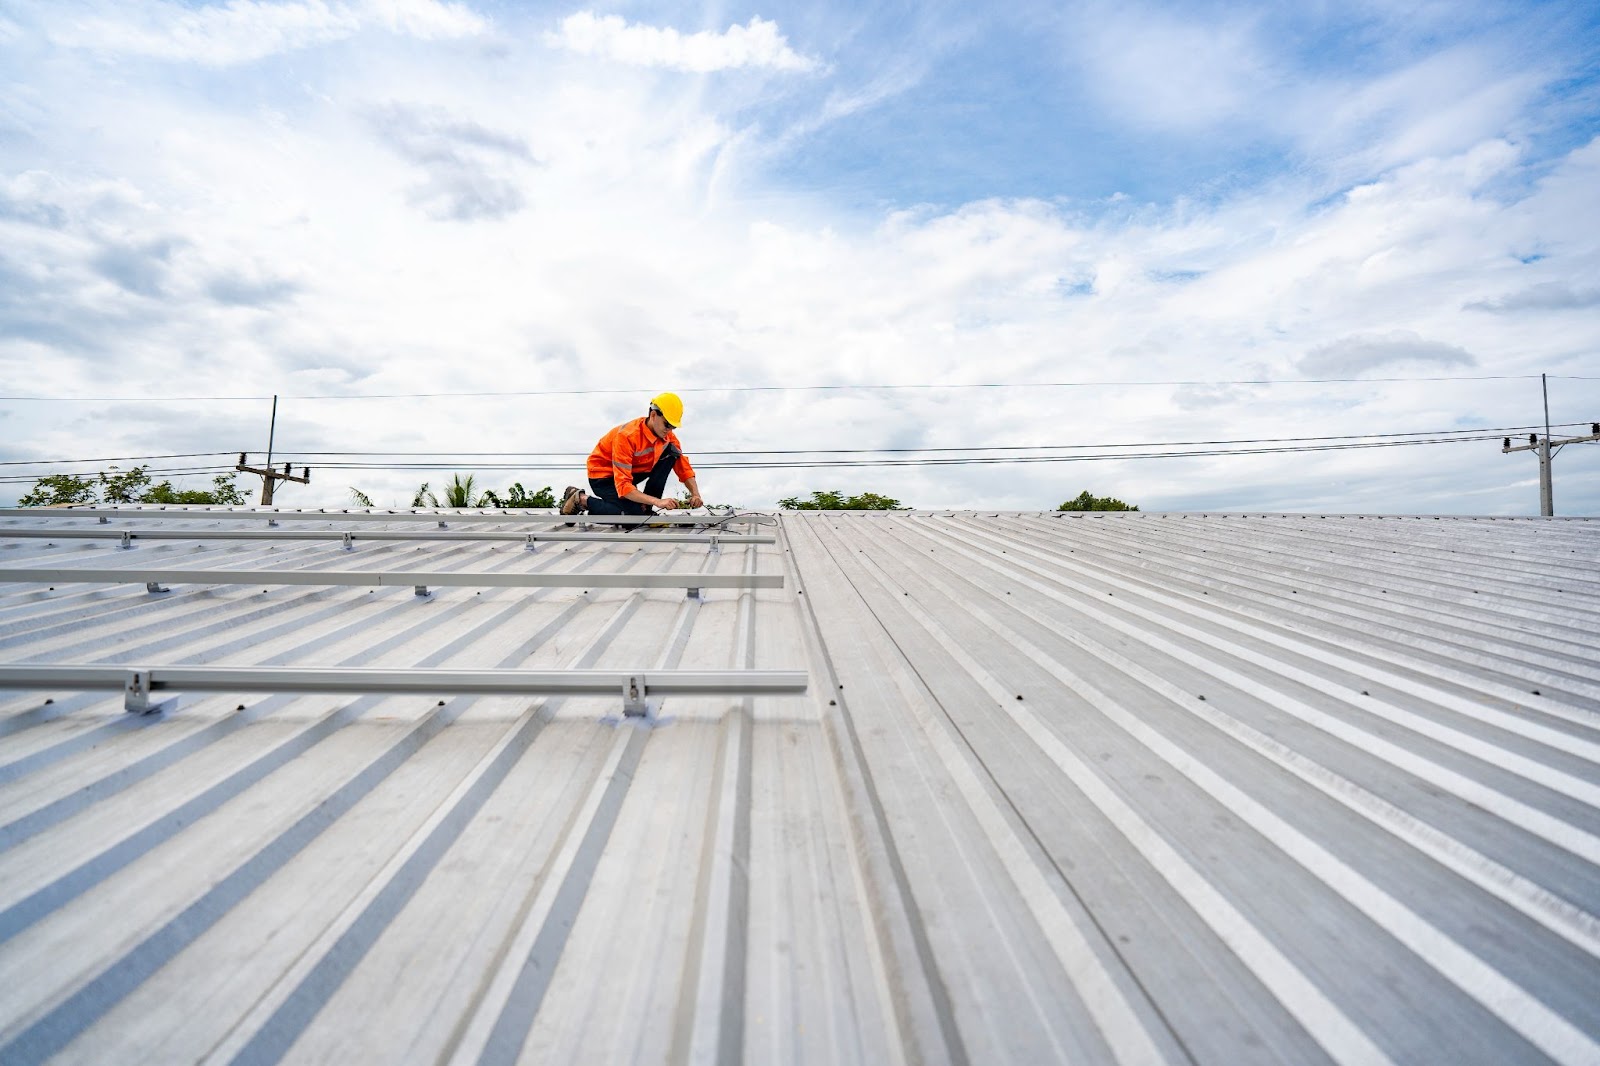
A Full Guide to Metal Roof Installation
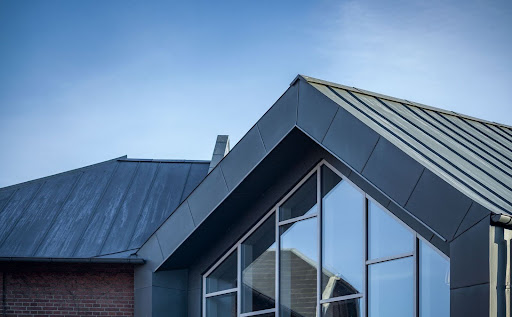
From withstanding wildfires and hurricanes to being durable enough to last 50+ years, metal roofs have many benefits, and with proper installation, they come with almost no upkeep. Many homeowners want to benefit from the energy efficiency of metal roofs, as they can reduce cooling costs by reflecting heat, which is why they are very popular across the United States. Metal roofs come with a modern and sleek look with no visible seams. Aztec Construction has created this detailed guide to make metal roof installation easy for you.
Installing A Metal Roof: The Experts’ Guide
While metal roof installation may seem like a very frustrating and tiring process, the right skill and precision can get you to an energy-efficient home. Understanding some expert tips for this process can help you DIY it or appreciate the significance of hiring a pro for the job.
Let’s look at the top installation tips from our experts:
a. Getting the roof deck prepared:
The first step involves removing the old roofing material, thoroughly inspecting the sheathing for damage, and addressing any needed repairs. Some metal roofing contractors may tell you that a new roof can be installed over existing shingles, and while that is true, experts advise getting a full tear-off to maintain the integrity of your roof.
b. Time to lay the underlayment:
Now that your roof deck is prepared, you must add a waterproofing underlayment to your entire roof surface. This underlayment will be your secondary water barrier and support in sealing around fastener penetrations. Next, lay the slip sheets, usually rosin paper, on top of the underlayment. This allows the metal to expand and contract freely without damaging the underlayment.
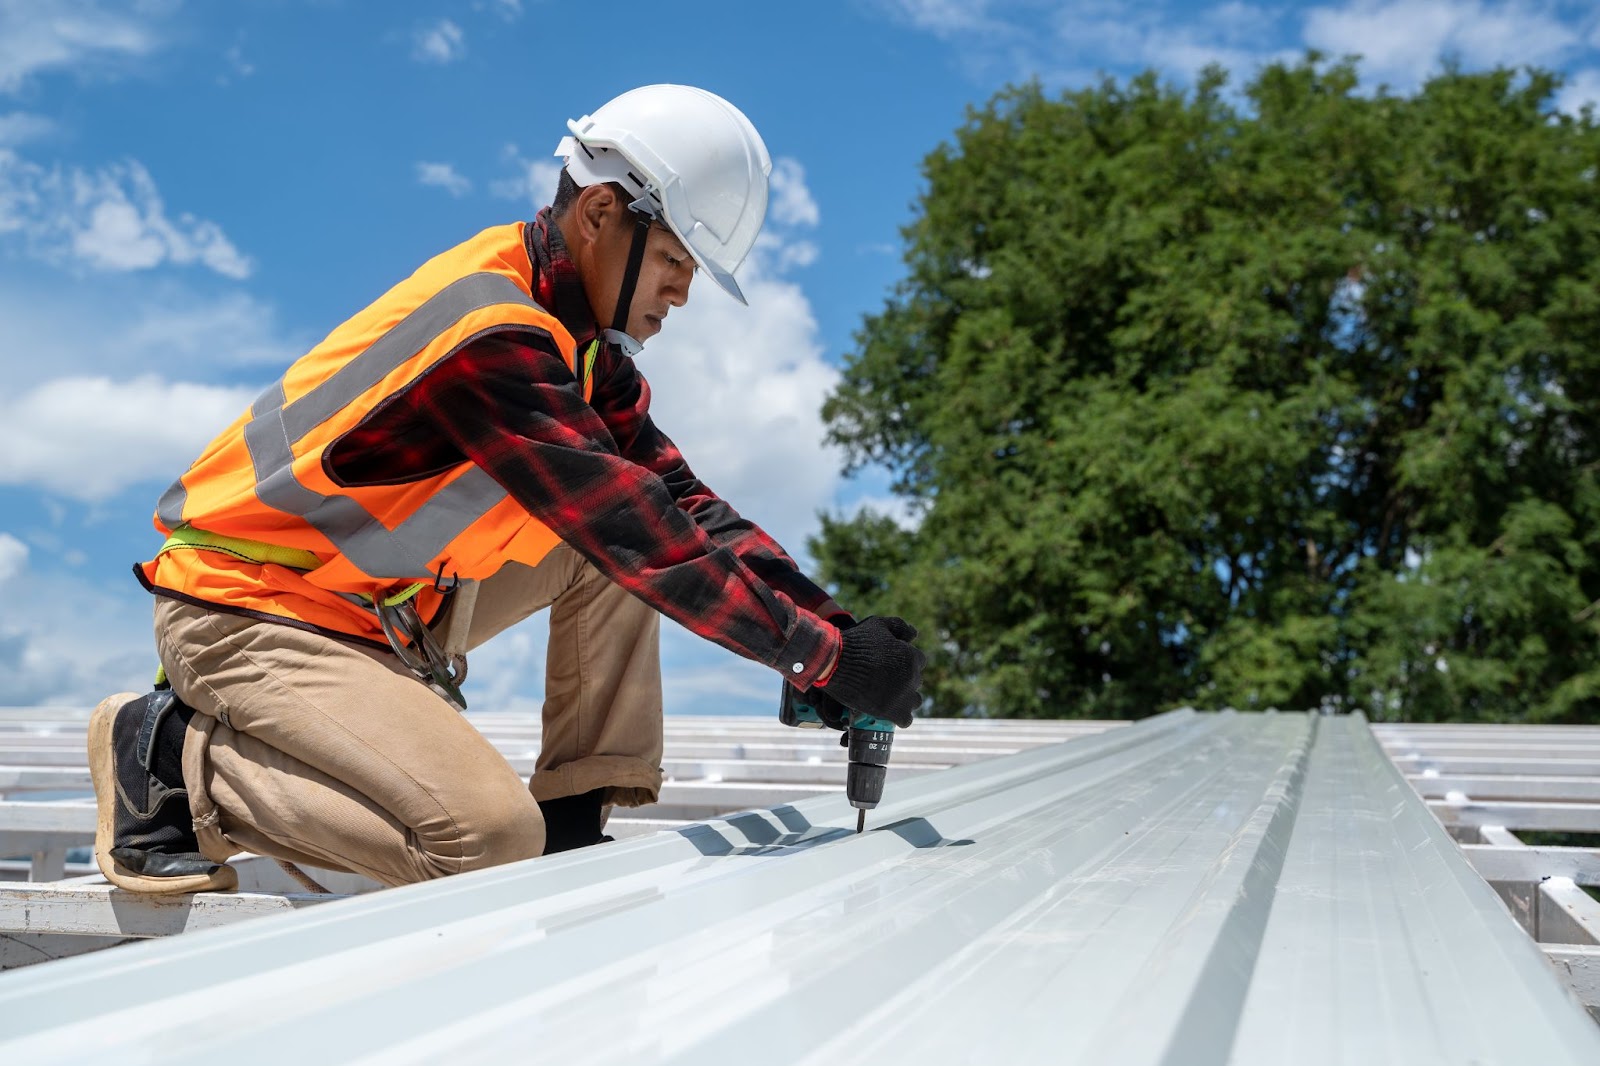
c. Fastening to avoid leaks:
The final and most important step is installing the shingles or metal roofing panels. This process greatly depends on the specific metal roofing system you’re using. For metal shingles or tiles, each component is fastened individually and overlapped to make a watertight seal. For standing seam roofs, panels are attached with concealed fasteners and seamed together through a special machine.
| Pro tip: To avoid water from getting under the panels, avoid seams and order panels to fit. |
Metal Roof Installation: What It Costs:
Metal roof maintenance is almost nonexistent compared to other roofing options, causing many homeowners to look up ‘metal roof costs’. We’ve done a cost breakdown to help you budget effectively for your next metal roof installation. The average cost of a small steel roof is almost $17,500, which is double the cost of an asphalt roof.
Here are the top 2 factors that make up this total cost:
- Material costs usually account for around 40% of the total roofing project cost, with prices ranging from $4 to $25 per square foot.
- Labor makes up almost 45% of the total project cost, which can increase if you choose a difficult roofing style or your house has complicated rooflines.
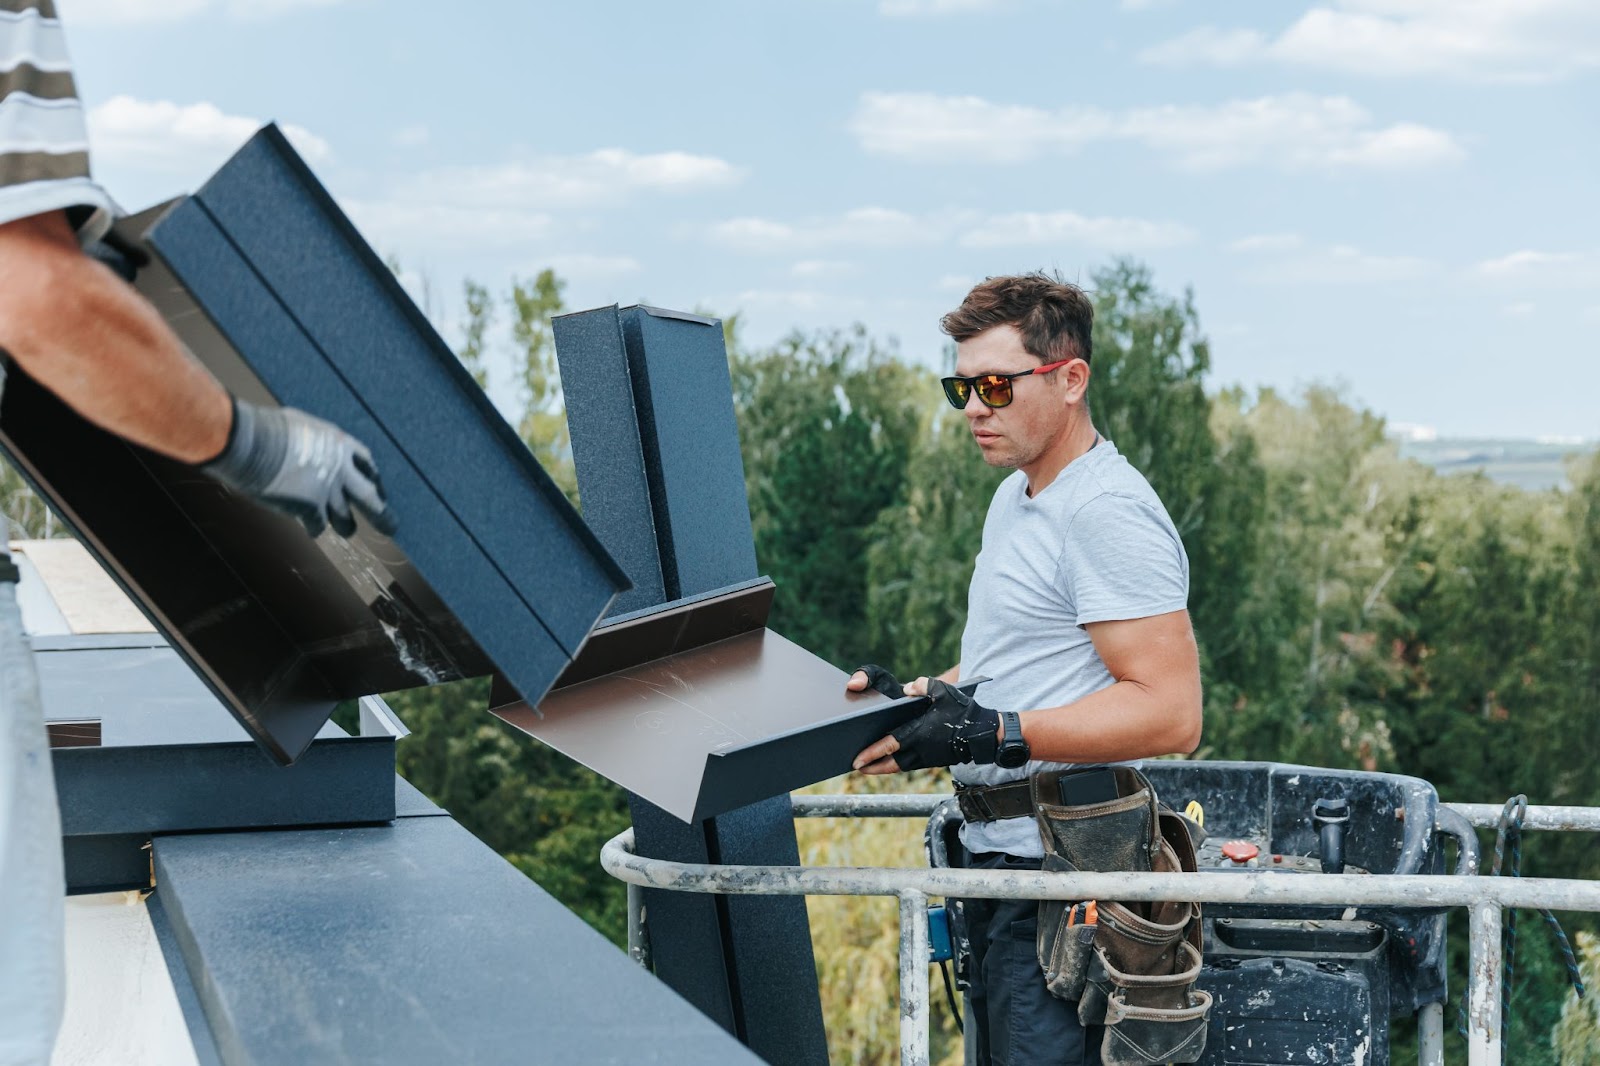
Installing the Right Metal Roof in Your Home:
Going to choose a steel roofing system or aluminum roofing for your home? Don’t rush this decision because you must consider several factors before picking the right material for your metal roof installation.
Let’s analyze some factors every homeowner should consider while deciding on the material for their residential metal roofs:
Look at your local climate:
If your house is in a region with heavy snowfall, standing seam metal roofs are a good choice as they’ll allow snow to slide off easily. For houses in coastal areas, corrosion resistance is the top priority; hence, choose copper, aluminum, or salt air roofs. Lastly, houses in sunny, hot climates demand light-colored metal roofs with enhanced solar reflectance.
Matching your style:
Modern homes go well with slate-like metal shingles, and one of the best options among metal roof colors for them is a weathered copper color. On the other hand, modern houses would look better with a matte black finish in a standing seam metal roof.
Looking inside your wallet:
If your budget feels too tight and you think you cannot afford metal roof installation, don’t worry, because we’ve got some great alternatives for you. If zinc and copper roofs are at the higher end of the spectrum, steel roofing is certainly economical. Always remember that long-term costs matter more than the cost upfront.
Conclusion:
Metal roofs promise style, durability, and energy efficiency, making them a great choice for your home. But knowing what follows the actual installation process and the costs that come with it can not just save you a lot of hassle, but also make you more careful when choosing the best metal roof material for your home.
FAQs:
Which is better, in metal roof vs shingles?
Apart from being energy efficient, metal roofs are also durable, which makes them a better option.
How much overlap is needed for metal roofing?
Around 1.5 inches.
What goes on before a metal roof?
A self-adhering synthetic material called the underlayment.
Can I install a metal roof by myself?
If you’re not an expert, DIYing may involve a tripping hazard and uneven panels with seams.
Where to place screws on metal roofing?
Install screws on the crest corrugation or the ribs of the metal roofing sheets.
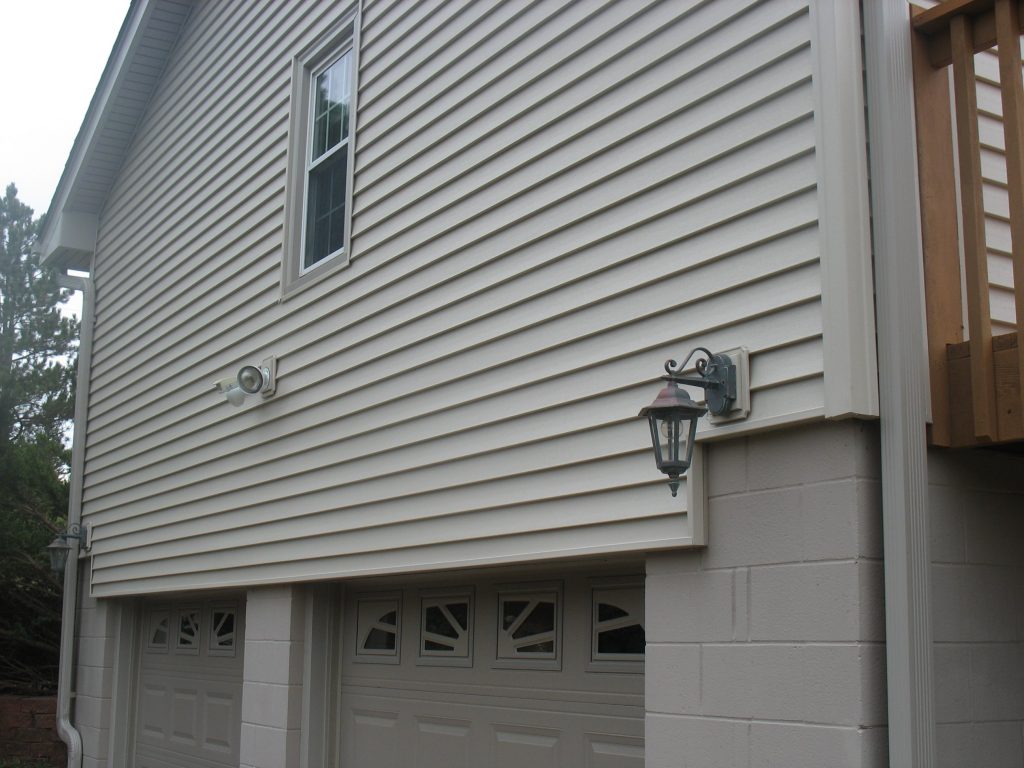
Step-by-Step Guide: How to Install Vinyl Siding Effectively
At Aztec Construction, we know vinyl siding is a popular choice for homeowners who want a low-maintenance, durable, and attractive exterior. It comes in a variety of colors and styles, making it a flexible option for different home designs. If you’re wondering how to install vinyl siding yourself, this guide will walk you through everything step by step—from preparation to finishing touches.
Preparing and Planning for Installing Vinyl Siding
Before starting your siding installation project, it’s important to prepare your home’s exterior. First, remove any old siding, nails, or damaged materials. Make sure the surface is clean, dry, and clear of any debris. Fix any sections that show signs of rot or structural issues before continuing.
Next, apply a house wrap or moisture barrier to protect the walls from water and drafts. This layer improves energy efficiency and adds an extra layer of protection. Mark the position of the wall studs so it’s easier to know where to nail your siding later.
Decide on your starting point. Vinyl siding is typically applied starting at the bottom and progressing upward, beginning on the rear or less noticeable side of the house and moving toward the front. Planning ahead will save time and help you avoid mistakes.
How to Measure for Vinyl Siding
Measuring properly is key to avoiding material waste and ensuring a smooth installation. Calculate the square footage of each wall by multiplying its height by its width. Then, sum the total measurements and subtract the space taken up by windows and doors.
It’s a good idea to buy about 10 percent extra material to cover mistakes or future repairs. Don’t forget to measure for trim pieces like corner posts, starter strips, and J-channels. Proper measurements help you order the right amount of materials and keep your project on track.
How to Cut Vinyl Siding
Cutting vinyl siding correctly ensures a tight fit and clean appearance. For short, straight cuts, use a utility knife. Score the siding, then bend it to snap along the scored line. This method works well for trimming smaller pieces.
For long cuts or large sections, a circular saw with a fine-tooth blade is best. Ensure the siding is properly fastened before making any cuts. For detailed work, such as cutting around windows or vents, tin snips or a jigsaw work great.
Always wear safety goggles and gloves when cutting to protect yourself from sharp edges or flying debris.
Tools and Materials
Before you begin, gather all the tools and materials you’ll need. This makes the job easier and prevents delays. Below is a brief summary of the necessary tools and materials:
Tools:
- Tape measure
- Chalk line
- Utility knife
- Circular saw
- Hammer or nail gun
- Tin snips
- Level
- Ladder or scaffolding
- Safety goggles and gloves
Materials:
- Vinyl siding panels
- Starter strips
- Corner posts
- J-channels
- Nails or screws
- House wrap or moisture barrier
- Trim pieces (as needed)
Having everything ready before starting your project will help you work more efficiently.
Installation Tips
Installing vinyl siding requires attention to detail. A key tip is to account for expansion. Vinyl expands and contracts with temperature changes, so never nail it too tightly. Leave a slight gap between the nail head and the siding.
Begin by marking a level line with a chalk line. The first row must be perfectly level, or the whole wall will look crooked. Overlap the ends of the siding panels by at least an inch and stagger the seams on each row for a cleaner appearance.
Use J-channels around windows and doors to hide cut edges and allow room for movement. Avoid face-nailing the panels; always use the nail slots provided by the manufacturer.
Trim and Other Accessories
Trims and accessories add the final touch to your vinyl siding project. They help give your home a finished, professional look and improve durability.
Begin by fixing a starter strip along the bottom of the wall. This component secures the first row of siding. Corner posts are installed at each exterior corner to cover panel edges. J-channels are used around doors, windows, and roof edges to hide cuts and allow flexibility.
Other accessories like soffits and fascia can be added for a more polished look, especially under eaves and along rooflines. These pieces also help with ventilation and moisture control.
Frequently Asked Questions
Can I install vinyl siding over old siding?
It depends. If the existing siding is smooth and intact, you may be able to install the new siding directly over it. However, for best results, it’s usually better to remove the old material.
Do I need to use a house wrap under vinyl siding?
Yes, house wrap helps protect your home from moisture and improves energy efficiency. It’s an important step in the installation process.
What is the typical time frame for installing vinyl siding?
For DIY homeowners, it can take a few days to a week depending on the size of the house and your experience level. Professionals may complete it faster.
Is vinyl siding easy to maintain?
Yes, it’s very low-maintenance. Cleaning it once or twice a year with a hose and mild detergent is usually enough to keep it looking great.
Can I install vinyl siding in cold weather?
Yes, but be careful. Vinyl can become prone to breakage in very cold temperatures. Handle it gently and avoid fast movements to prevent cracking.
Conclusion
Learning how to install vinyl siding is a great way to update your home’s exterior and boost its curb appeal. With the right planning, tools, and care, you can complete the project successfully—even as a first-timer. Just take it step by step, and don’t rush the process. A clean and properly installed siding job can last for decades with minimal maintenance.